
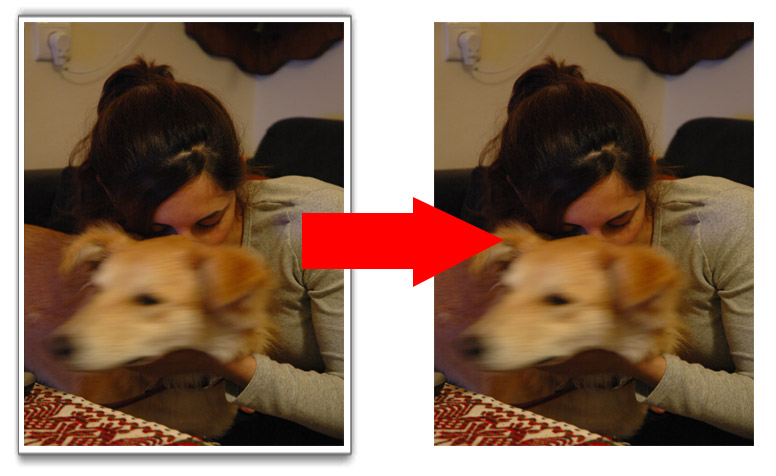
I have noticed that many blogger beginners are irritated with the blogger’s automatic image border or shadow. Some bloggers like this but many of them feel this auto image border just annoying. If you are one of them and want to display your image without border, this post is for you. Just follow these simple steps.
How To Remove Blogger Image Border ?
If you want to put borders around the images of blogger instead, read ‘How to Make Images Have Borders in Blogger?’
1.Go to your Blogger Dashboard – Template – HTML –
2.Look for ]]></b:skin> You can use ctrl+f
3. paste the following code just before the ]]></b:skin>–
.post-body img, .post-body .tr-caption-container, .Profile img, .Image img,
.BlogList .item-thumbnail img {
padding: 0 !important;
border: none !important;
background: none !important;
-moz-box-shadow: 0px 0px 0px transparent !important;
-webkit-box-shadow: 0px 0px 0px transparent !important;
box-shadow: 0px 0px 0px transparent !important;
}
Note: if you have too many customized advanced template, then this trick may not work. In this case you can find out the css of the post image on your template HTML codes.
Follow these steps:
1 Go to Blogger’s Dashboard > Template > Edit HTML
2 Click anywhere on the code area and search by pressing the CTRL + F keys for the following code:
border: 1px solid $(image.border.color);
-moz-box-shadow: 1px 1px 5px rgba(0, 0, 0, .1);
-webkit-box-shadow: 1px 1px 5px rgba(0, 0, 0, .1);
box-shadow: 1px 1px 5px rgba(0, 0, 0, .1);
Note: if you can’t find these codes together, you can try to find these codes seperately.
-moz-box-shadow: 1px 1px 5px rgba(0, 0, 0, .1);
After you detect the CSS of the image, just delete the above lines and Save your template. You are done. Now Your blogger images wont appear with borders and shadow. Cheers!